

Imagine we have to lift and shift an on-premise MySQL database to Google Cloud SQL, there are few things that we need to set up in Google Cloud platform in order to do that.
1. Enable APIs
We need to enable Cloud SQL API and Cloud Storage API before we start. Find these in API library and make sure they’re enabled
2. Create Cloud Storage bucket
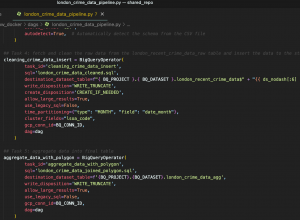
We can create it either using the Cloud console or the cloud shell. After create the bucket, go to Cloud shell. Clone the repository and copy the file to your bucket.
git clone https://github.com/GaryYiu/gcp-resource.git
cd gcp-resource/cloud_sql_demo
gsutil cp * gs://BUCKET_NAME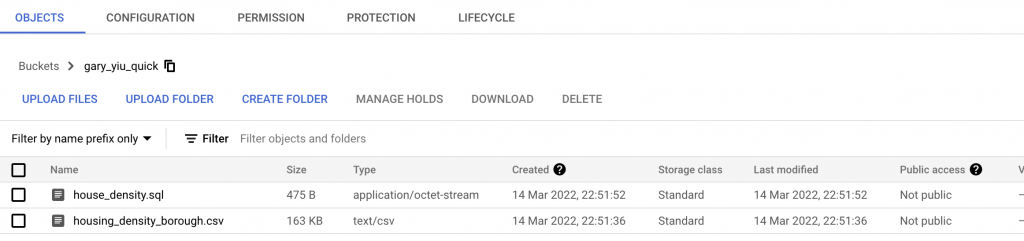
3. Setup Cloud SQL instance
Now we already have our sql dump and data in the bucket, we can create our Cloud SQL instance. Fill in the instance ID and the password for the instance, we will need these to connect to the database. For this practice, we only need a single zone database as we are not going to access the database from multiple zones. Single CPU with 3.75 GB RAM plus 10GB of SSD storage is sufficient.

4. Create database
After the Cloud SQL instance is created, go to ‘Database’ tab and click create database.
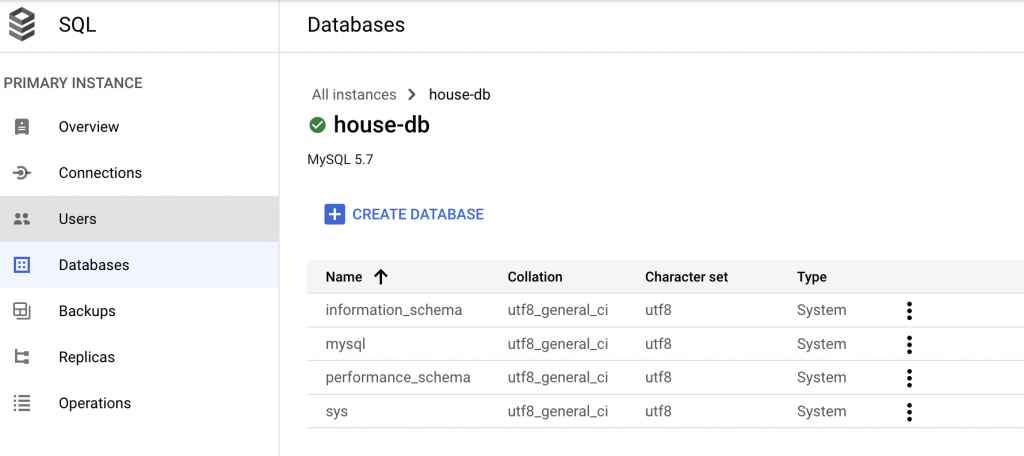
Give the database a name, e.g. housing_density. Leave the rest as default, then create the database
5. Import SQL dump and data
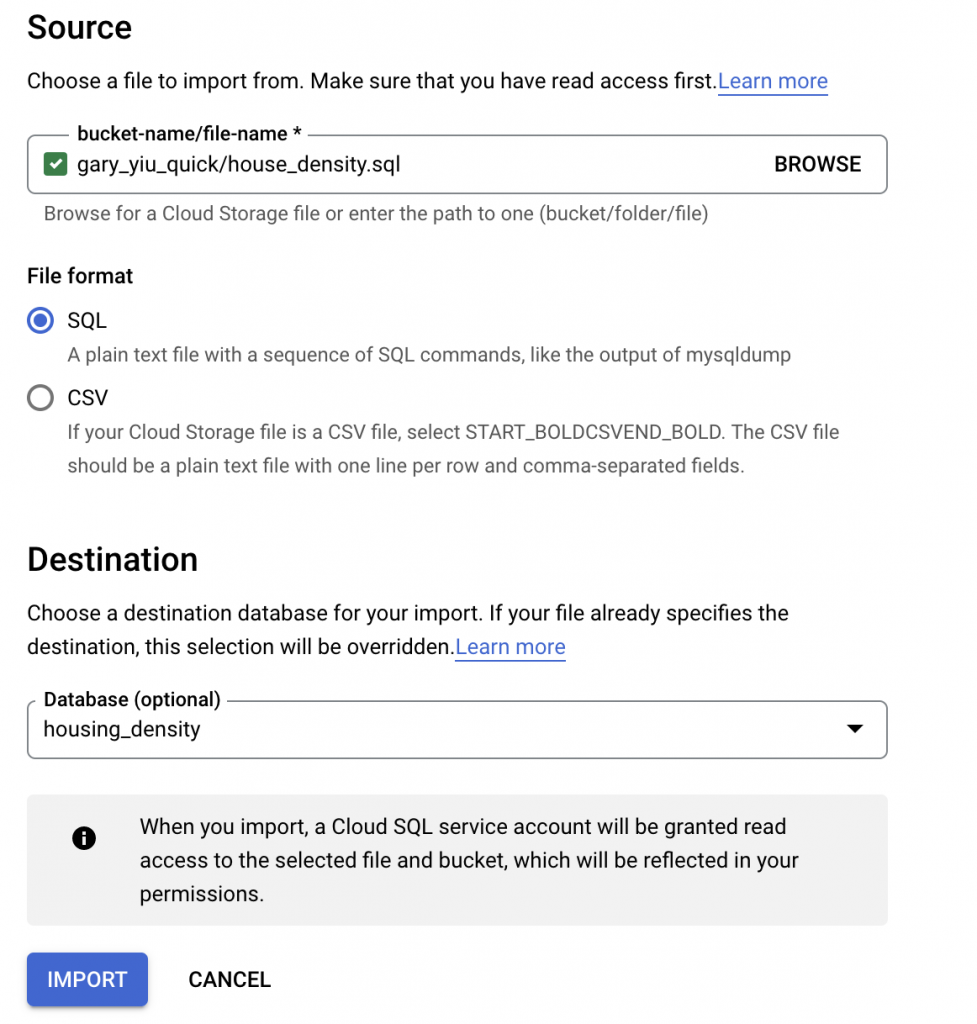
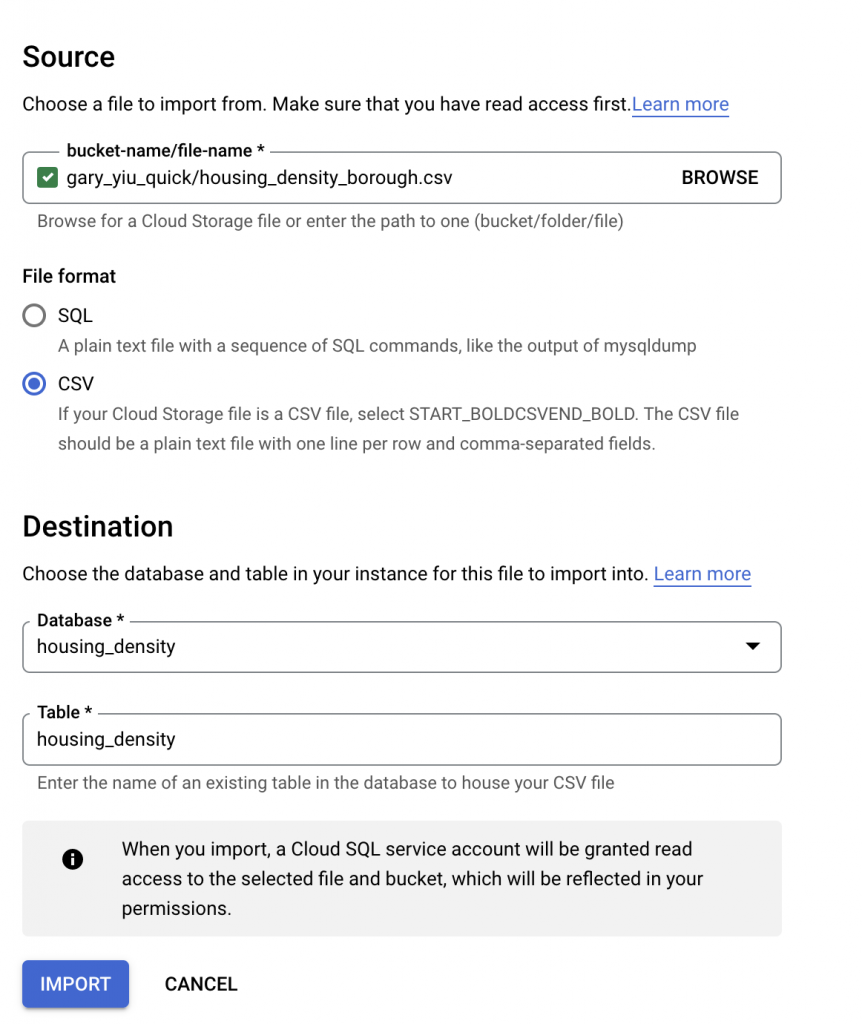
Back to instance overview, access ‘Import’ in instance overview. From there we will import the SQL dump first. Browse to the bucket that contains the sql dump and select the sql file. For destination select the database we just created.
After importing the SQL dump file, we repeat the same step for the data file, but this time select CSV for file format. For table name, we need to fill in the table name that our SQL dump created, in this case, it should be housing_density as well.
6. Access the SQL database from Cloud shell
Now we can use Cloud shell to access our database and check if the data are loaded successfully in the database.
gcloud sql connect house-db --user=root
Several tasks will be done automatically including whitelisting IP for incoming access. Enter your root user password when prompt. After connected successfully, change database in use to housing density.
use housing_density
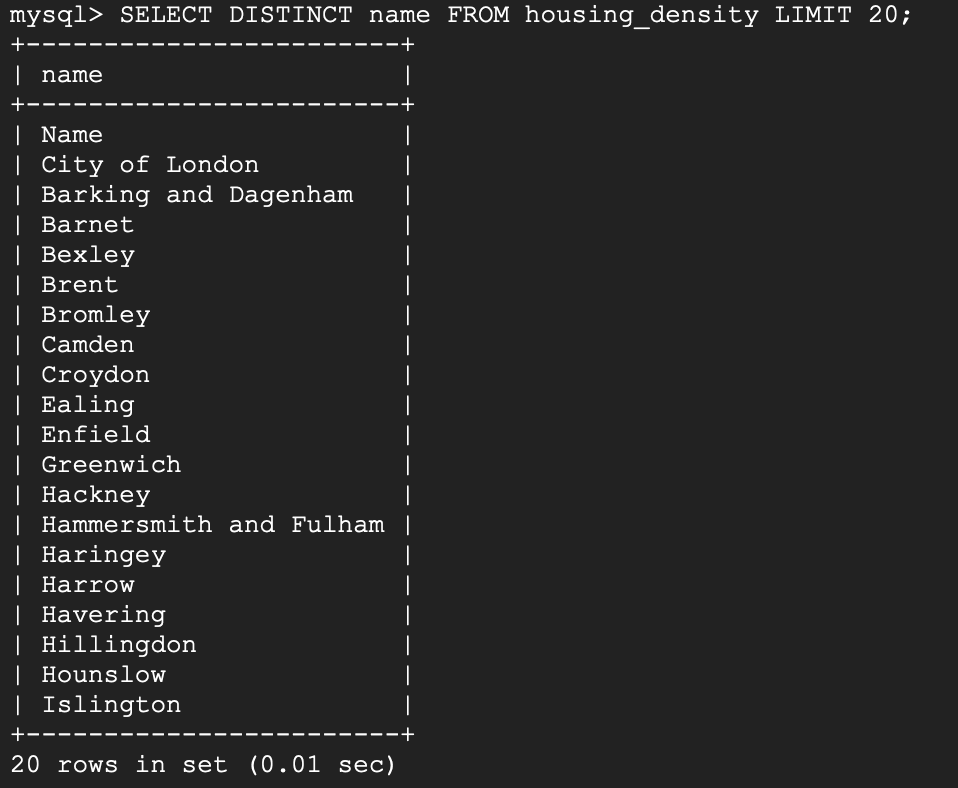
Let’s try to select 20 distinct borough name from the table.
SELECT DISTINCT name FROM housing_density LIMIT 20;
Next, let’s find our the borough with predicted population greater than 300,000 in 2022.
SELECT year, name, population FROM housing_density WHERE year = 2022 AND population > 300000;
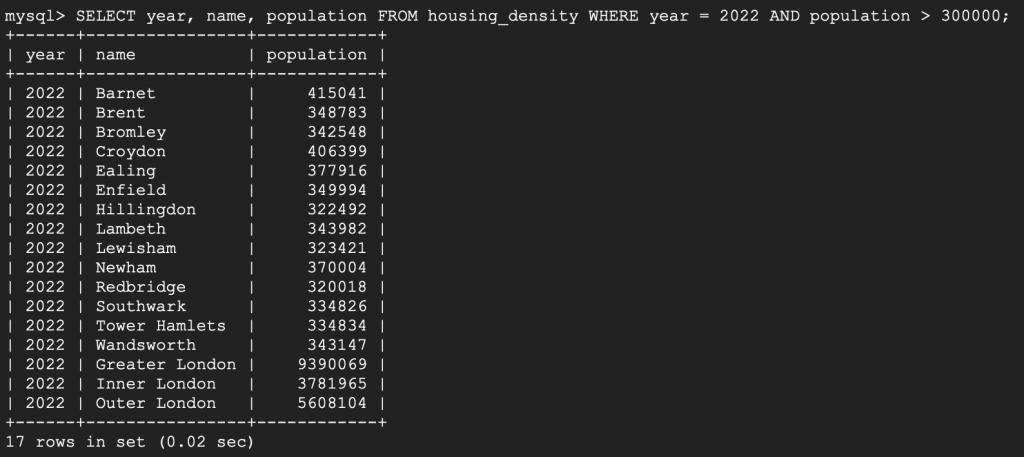
Looks like the data are loaded into the database alright. We finished our mini lift and shift operation to Cloud SQL.
Let’s wrap up by terminating our database instances and removing our bucket to avoid unwanted cost.